Fuji’s Natural Live View
Fuji's Natural Live View explained. What is it? And why would you use it?
Intro
TL;DR #
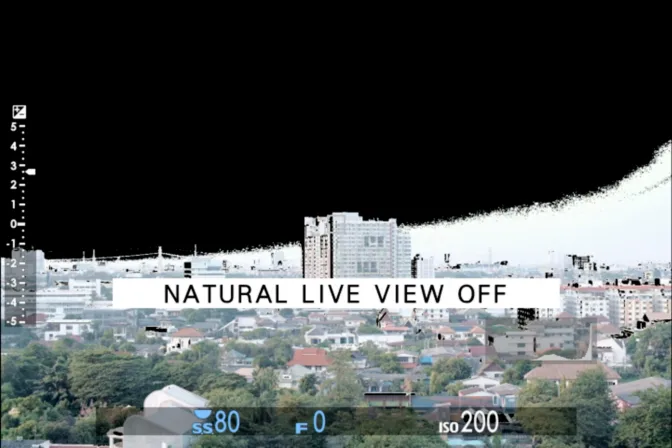
Natural Live View hides all in-camera processing when viewing the live feed from the LCD and EVF. If you prefer a more natural looking viewfinder experience or need to see into the shadows more than the selected film simulation allows, use Natural Live View.
Using Natural Live View to evaluate exposure is not recommended, even though it seems like a perfect use case to bypass JPEG processing. Natural Live View doesn’t reliably indicate clipping when using Live View Highlight Alert or the histogram.
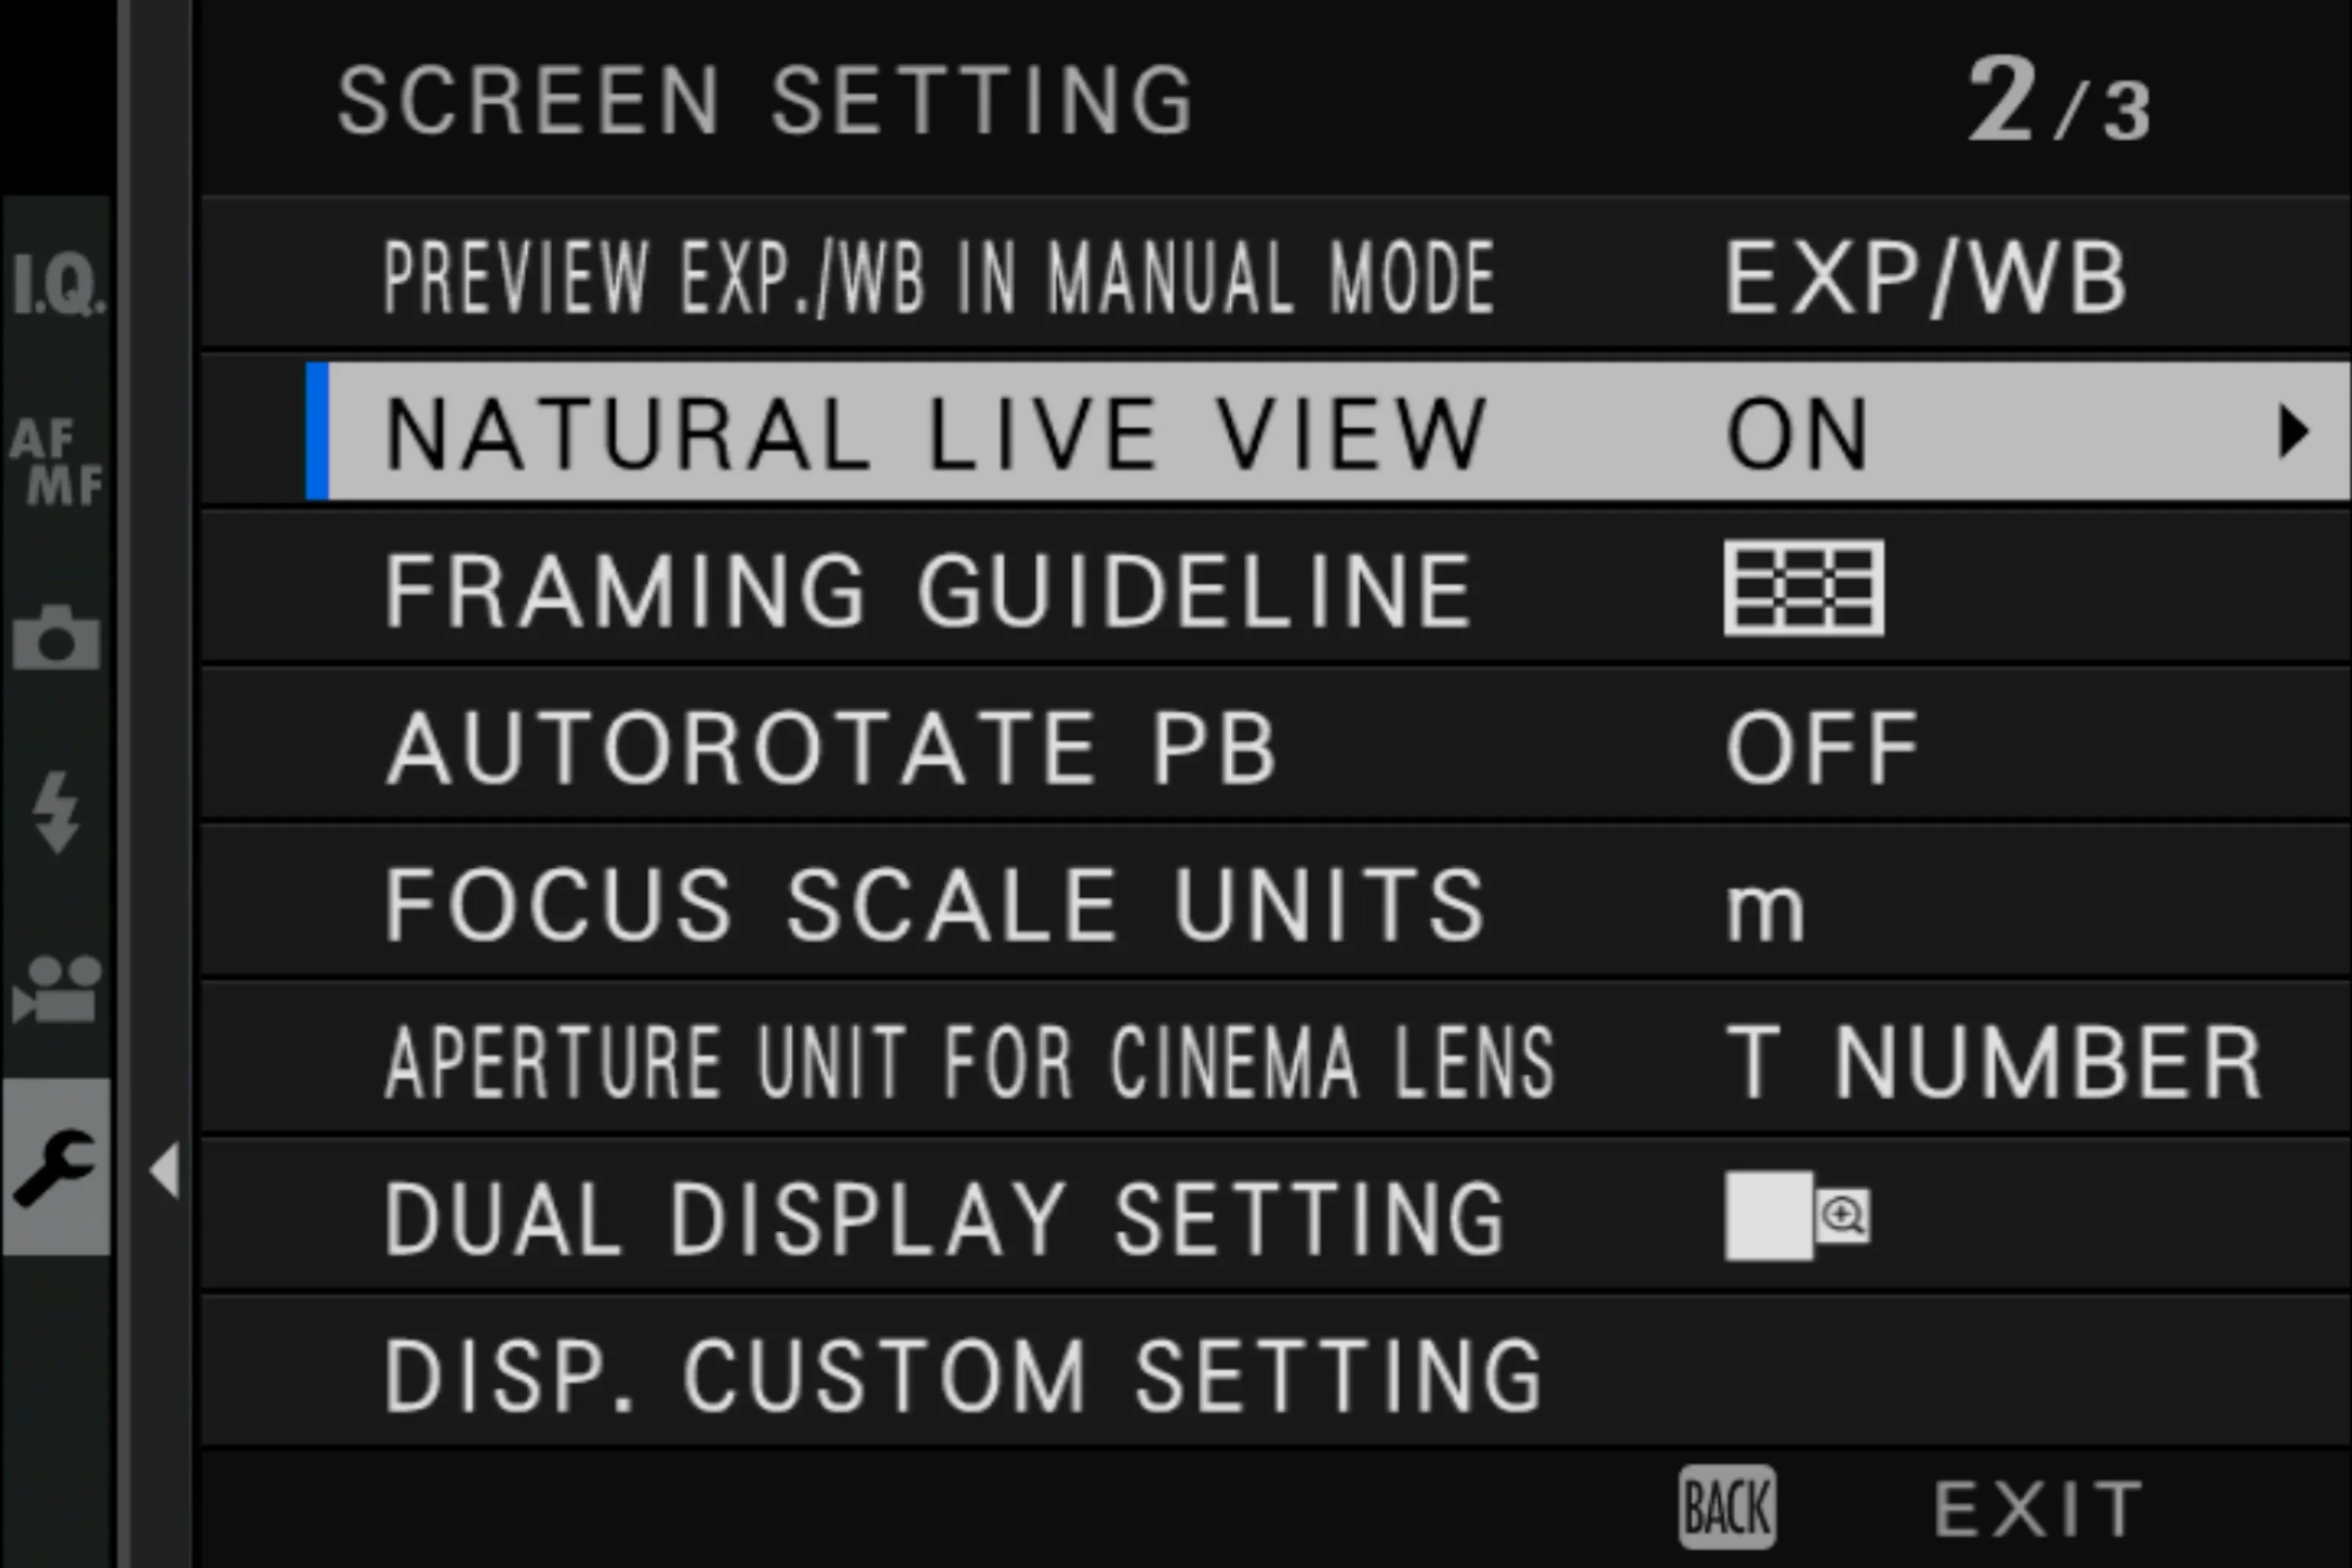
What is Fujifilm Natural Live View? #
Turning Natural Live View ON disables the visual effects of in-camera JPG processing. This includes film simulation, white balance, shadow/highlight adjustments. Now the image you see is in the viewfinder and LCD is no longer effected by the in-camera JPG settings. Natural Live View can also be helpful for composing images in dark environments.
Preview Pic. Effect
On older Fujifilm cameras, Natural Live View is equal to Preview Pic. Effect.
 View this image larger
Choose OFF to preview the effects of film simulation, white balance, and other settings in the monitor, ON to make shadows in low-contrast, back-lit scenes and other hard-to-see subjects more visible. If ON is selected, the effects of camera settings will not be visible in the monitor and colors and tone will differ from those in the final picture.
Fujifilm USA explains Natural Live View
Natural Live View and exposure tools #
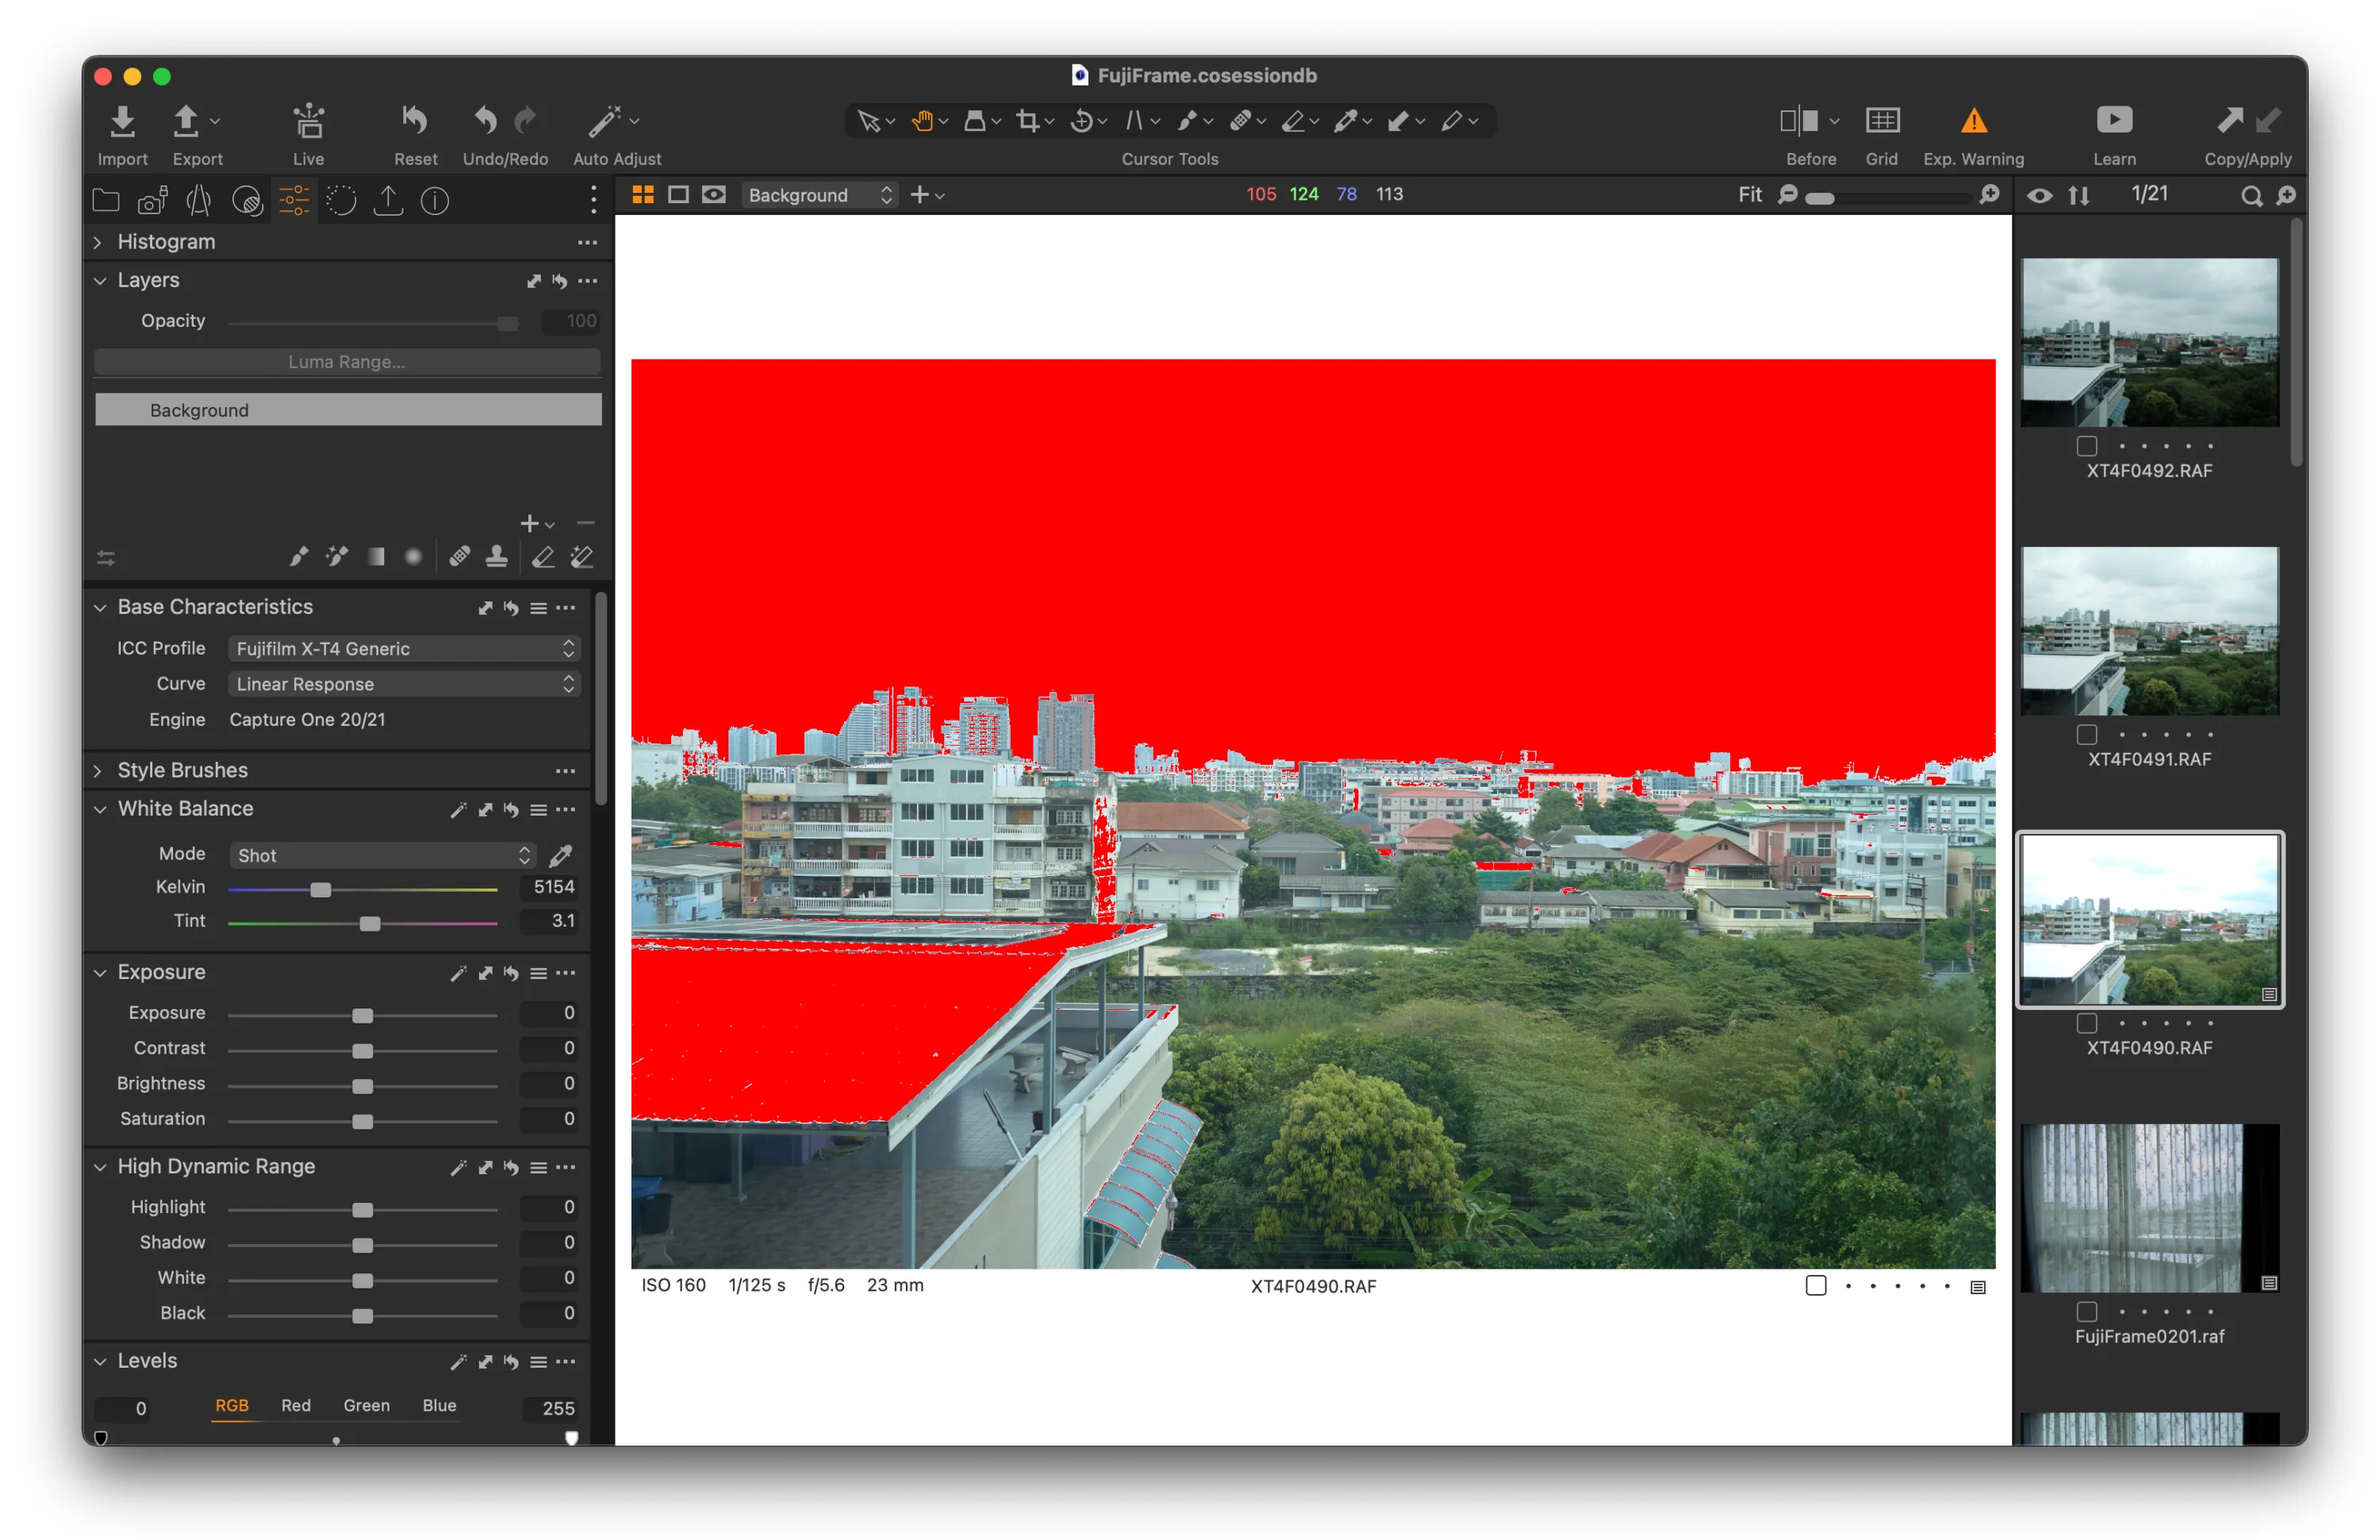
It would seem like a perfect use case to use Natural Live View to see a closer approximation of the raw latitude of the camera. A use case that in initial testing appeared promising in certain circumstances. Unfortunately though, Natural Live View makes exposure tools such as Live View Highlight Alert and the histogram less accurate and prone to clipping.
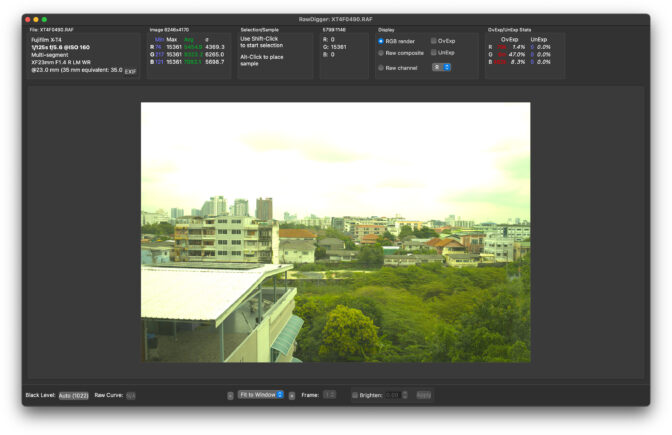
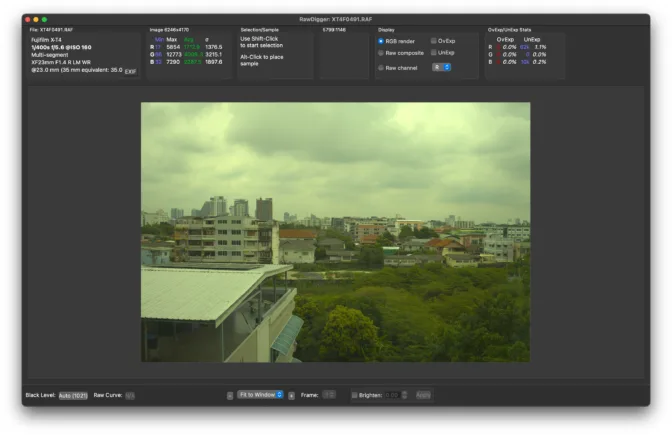
Evaluating exposures in Raw Digger. First image was exposed with Natural Live View turned ON. Exposure was adjusted until Blinkies appeared then backed off until they disappeared. Second image was exposed in the same way but with Natural Live View turned OFF.
Natural Live View makes exposure tools such as Live View Highlight Alert and the histogram less accurate and prone to clipping.
 View this image larger
How to test Natural Live View for raw exposure #
Setup:
- Set the camera on a tripod
- Turn on Live View Highlight Alert
- Select Eterna film simulation and set highlights to -2
- Set to base ISO
- Set aperture manually
- Adjust shutter speed until Live View Highlight Alert appears, then increase until blinkies disappear again
- Take the first exposure
- Turn on Natural Live View in the menu (this should now show a very flat looking image) and repeat step six
- Take second exposure
Comparing exposures
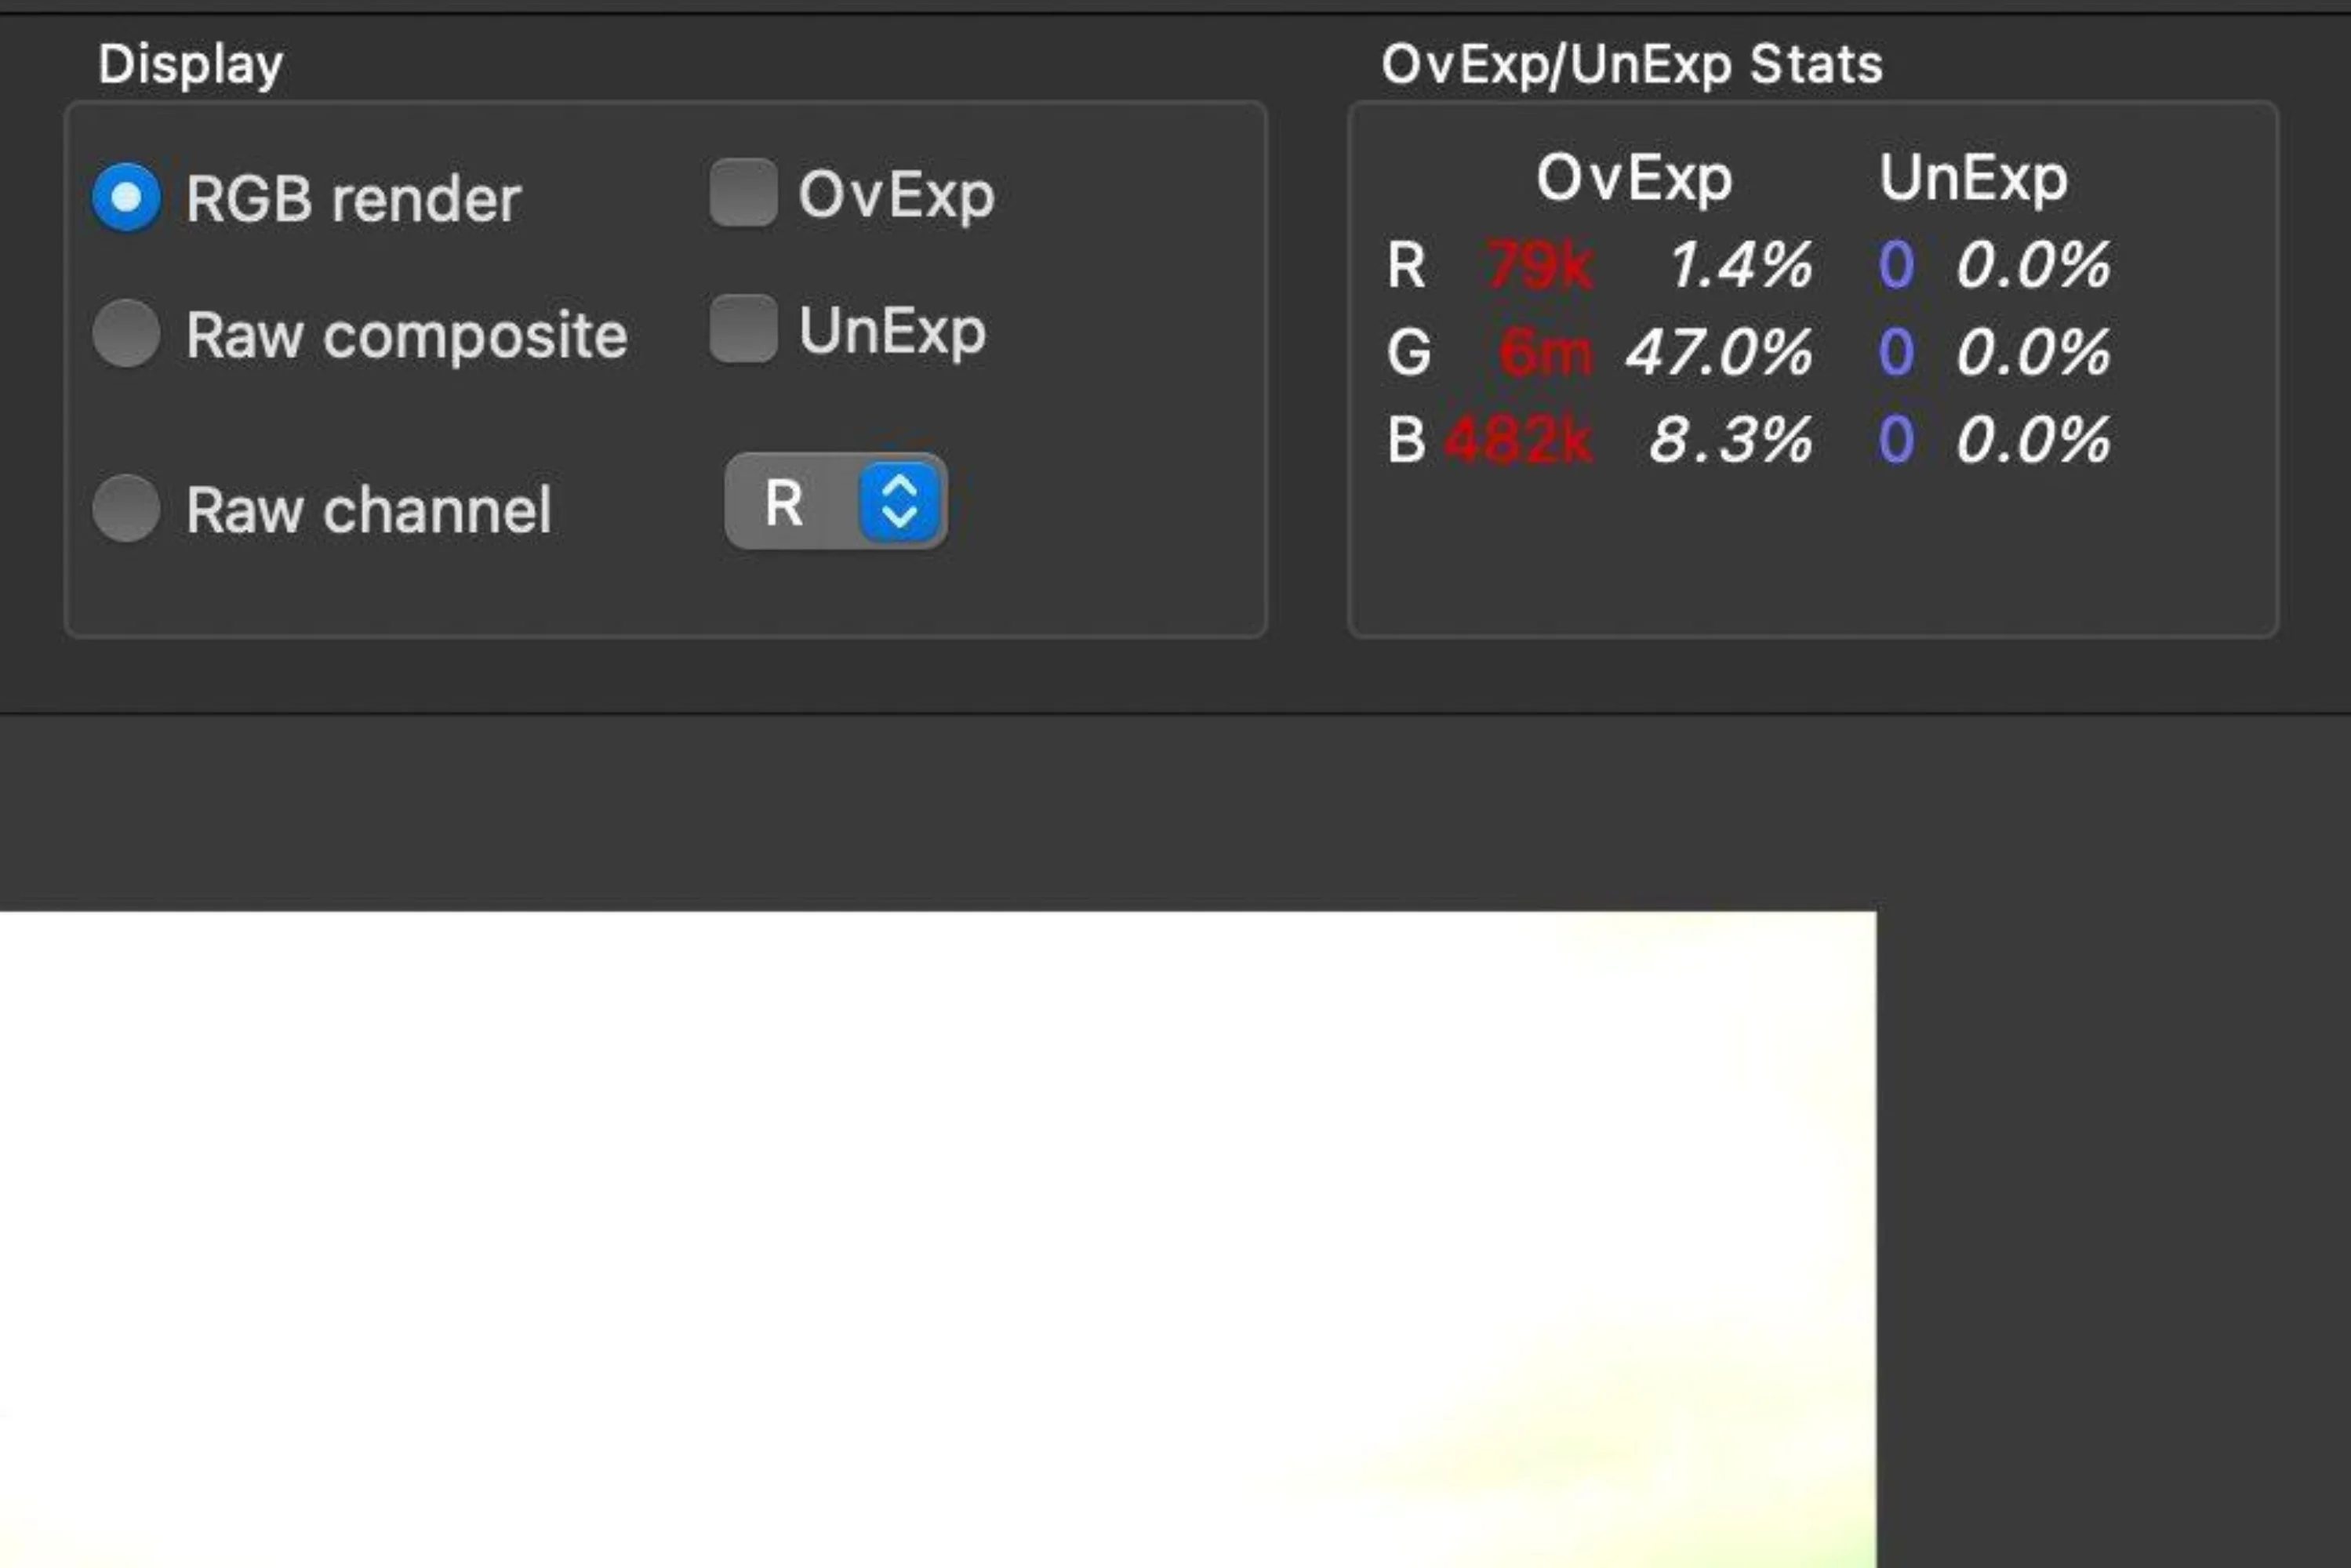
Although you could instantly see overexposure warnings in most image editors such as Capture One pro, it’s worth downloading a free trial of Raw Digger as it shows more clearly the extent of the overexposure.
 View this image larger
More Fujifilm articles
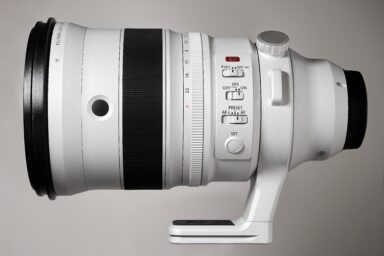
Fuji 200mm f2 review
The Fuji 200mm f2 has been nicknamed "The great white sharp", we borrowed one from Fujifilm to find…
Fuji 90mm f2 field test
Field testing the Fuji 90mm f2 in the Cairngorms National Park, Scotland.
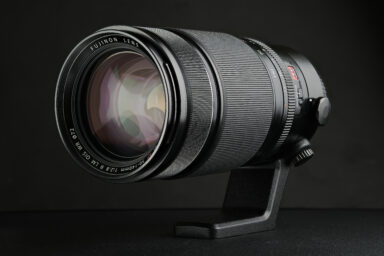
Fuji 50-140mm f2.8 review
The Fuji 50-140mm f/2.8 is a workhorse. It's a rugged and reliable lens that delivers consistent an…
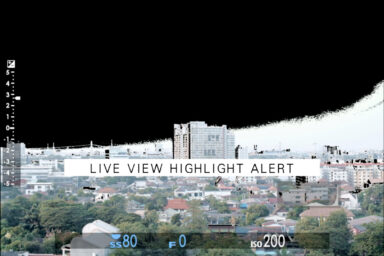
Live View Highlight Alert and Exposing to the Right
Live View Highlight Alert shows when highlights are clipping by flashing the overexposed area black…
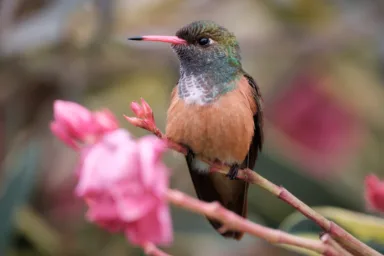
Hummingbirds with the Fuji XH2s and 70-300mm
The Fuji XH2s' bird detection proved invaluable when trying to track the fast-moving Amazilia hummi…
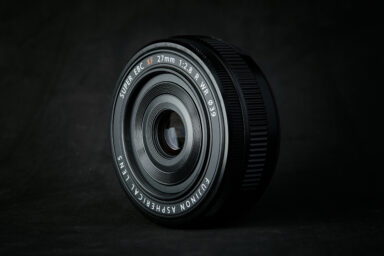
Fuji 27mm review
Over the past year, the Fuji 27mm has been attached to my X-T4 come rain or shine. Read the Fuji 27…