Live View Highlight Alert and Exposing to the Right
Live View Highlight Alert shows when highlights are clipping by flashing the overexposed area black. But can you rely on this exposure tool for raw?
Intro
TL;DR #
Live View Highlight Alert shows when highlights are clipping by flashing the overexposed area black. This exposure tool is effected by in-camera processing such as the tone-curve, so read on for specific settings to check.
Live View Highlight Alert #
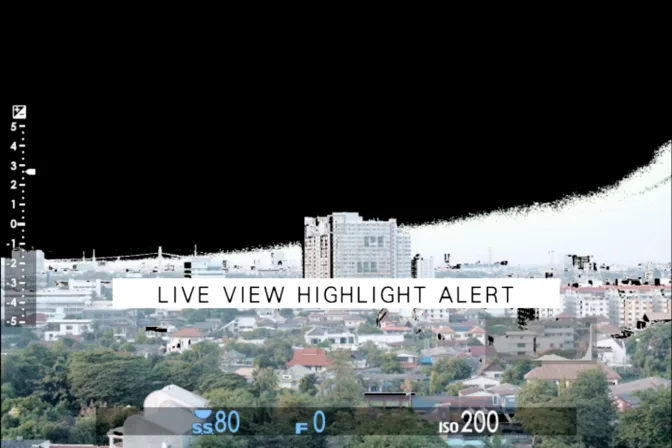
Live View Highlight Alert is also referred to as blinkies. This is because the overexposed areas flash black and white. This is a great way to identify clipped highlights and is the primary exposure tool we would recommend for Exposing to The Right.
 View this image larger
The problem with ETTR #
The hardest part of Exposing to the Right (ETTR) is judging the exposure in camera. Exposure tools like the histogram show you the JPG interpretation of the raw data. This means you are seeing the effects of in-camera processing. For example, white balance, shadow/highlight settings and film simulation.
Shadow and highlight tone curve #
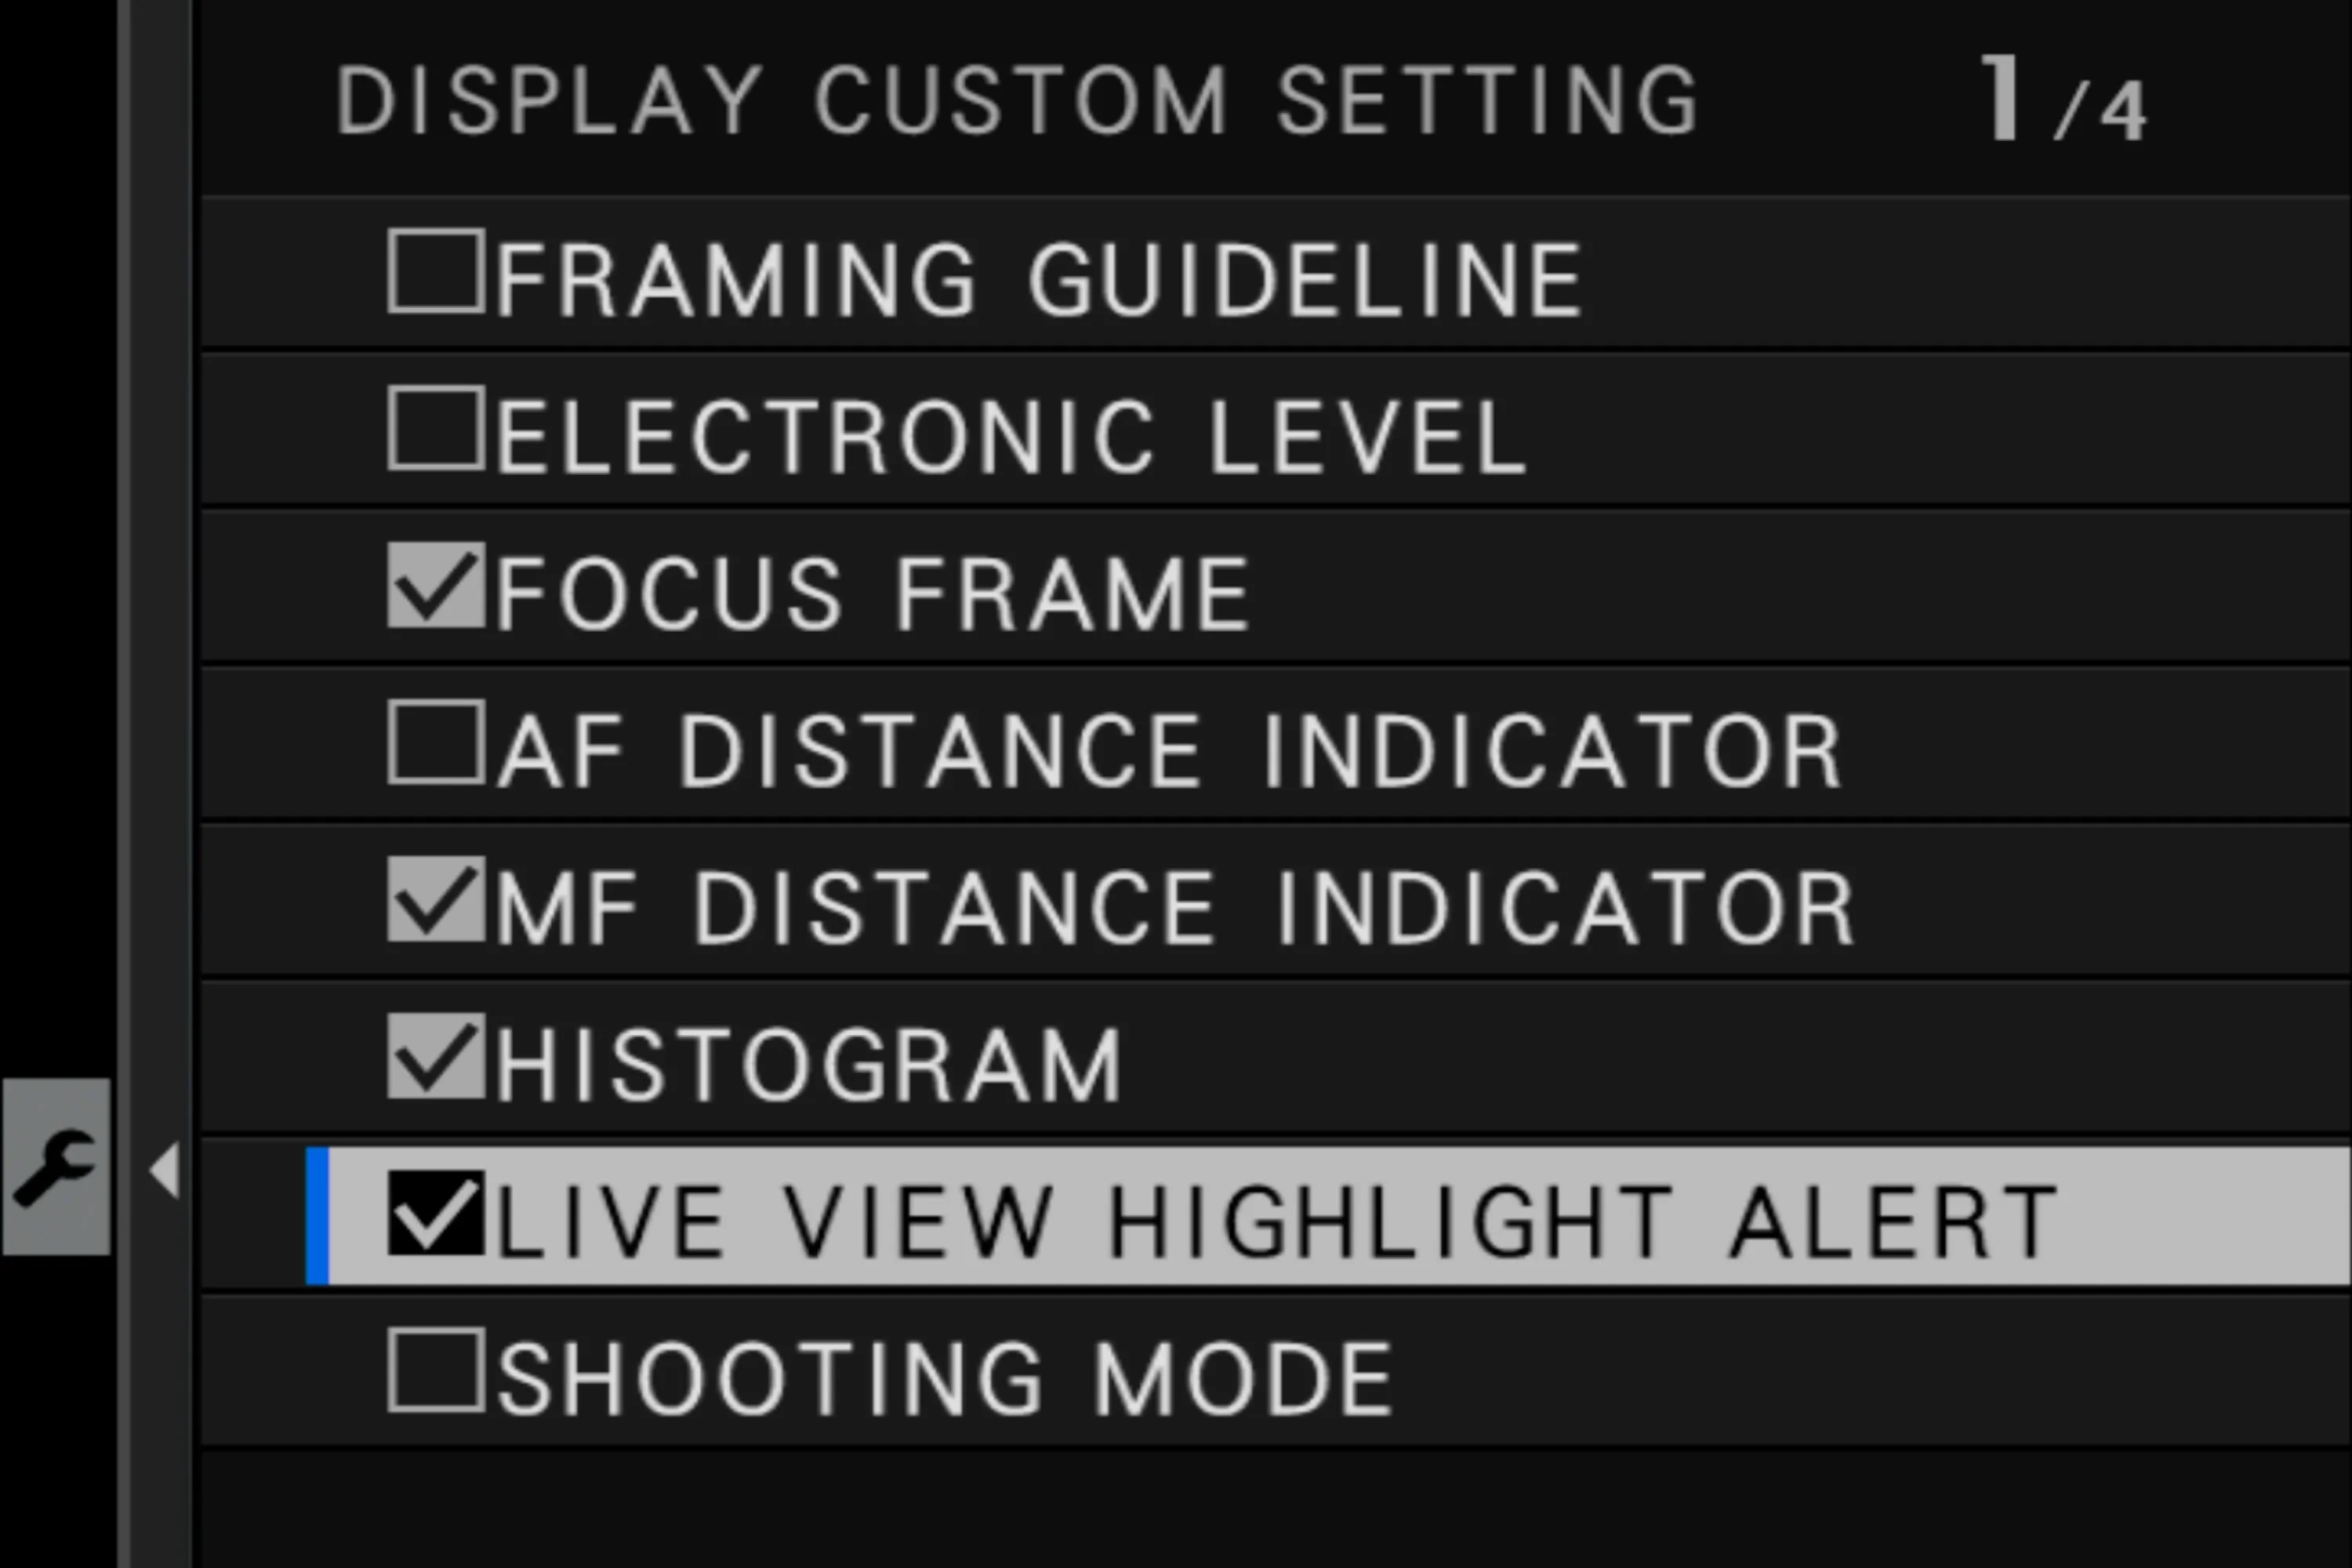
The tone curve options allow you to adjust the harshness of the shadows and highlights. This setting does effect when the blinkies appear. So if you have highlights set to +4 you will see the Live View Highlight Alert prematurely. Therefore set highlights to -2.
With reference to a tone curve, adjust the appearance of highlights or shadows, making them harsher or softer. Choose higher values to make shadows and highlights harsher, lower values to make them softer.
How film simulations effect exposure tools #
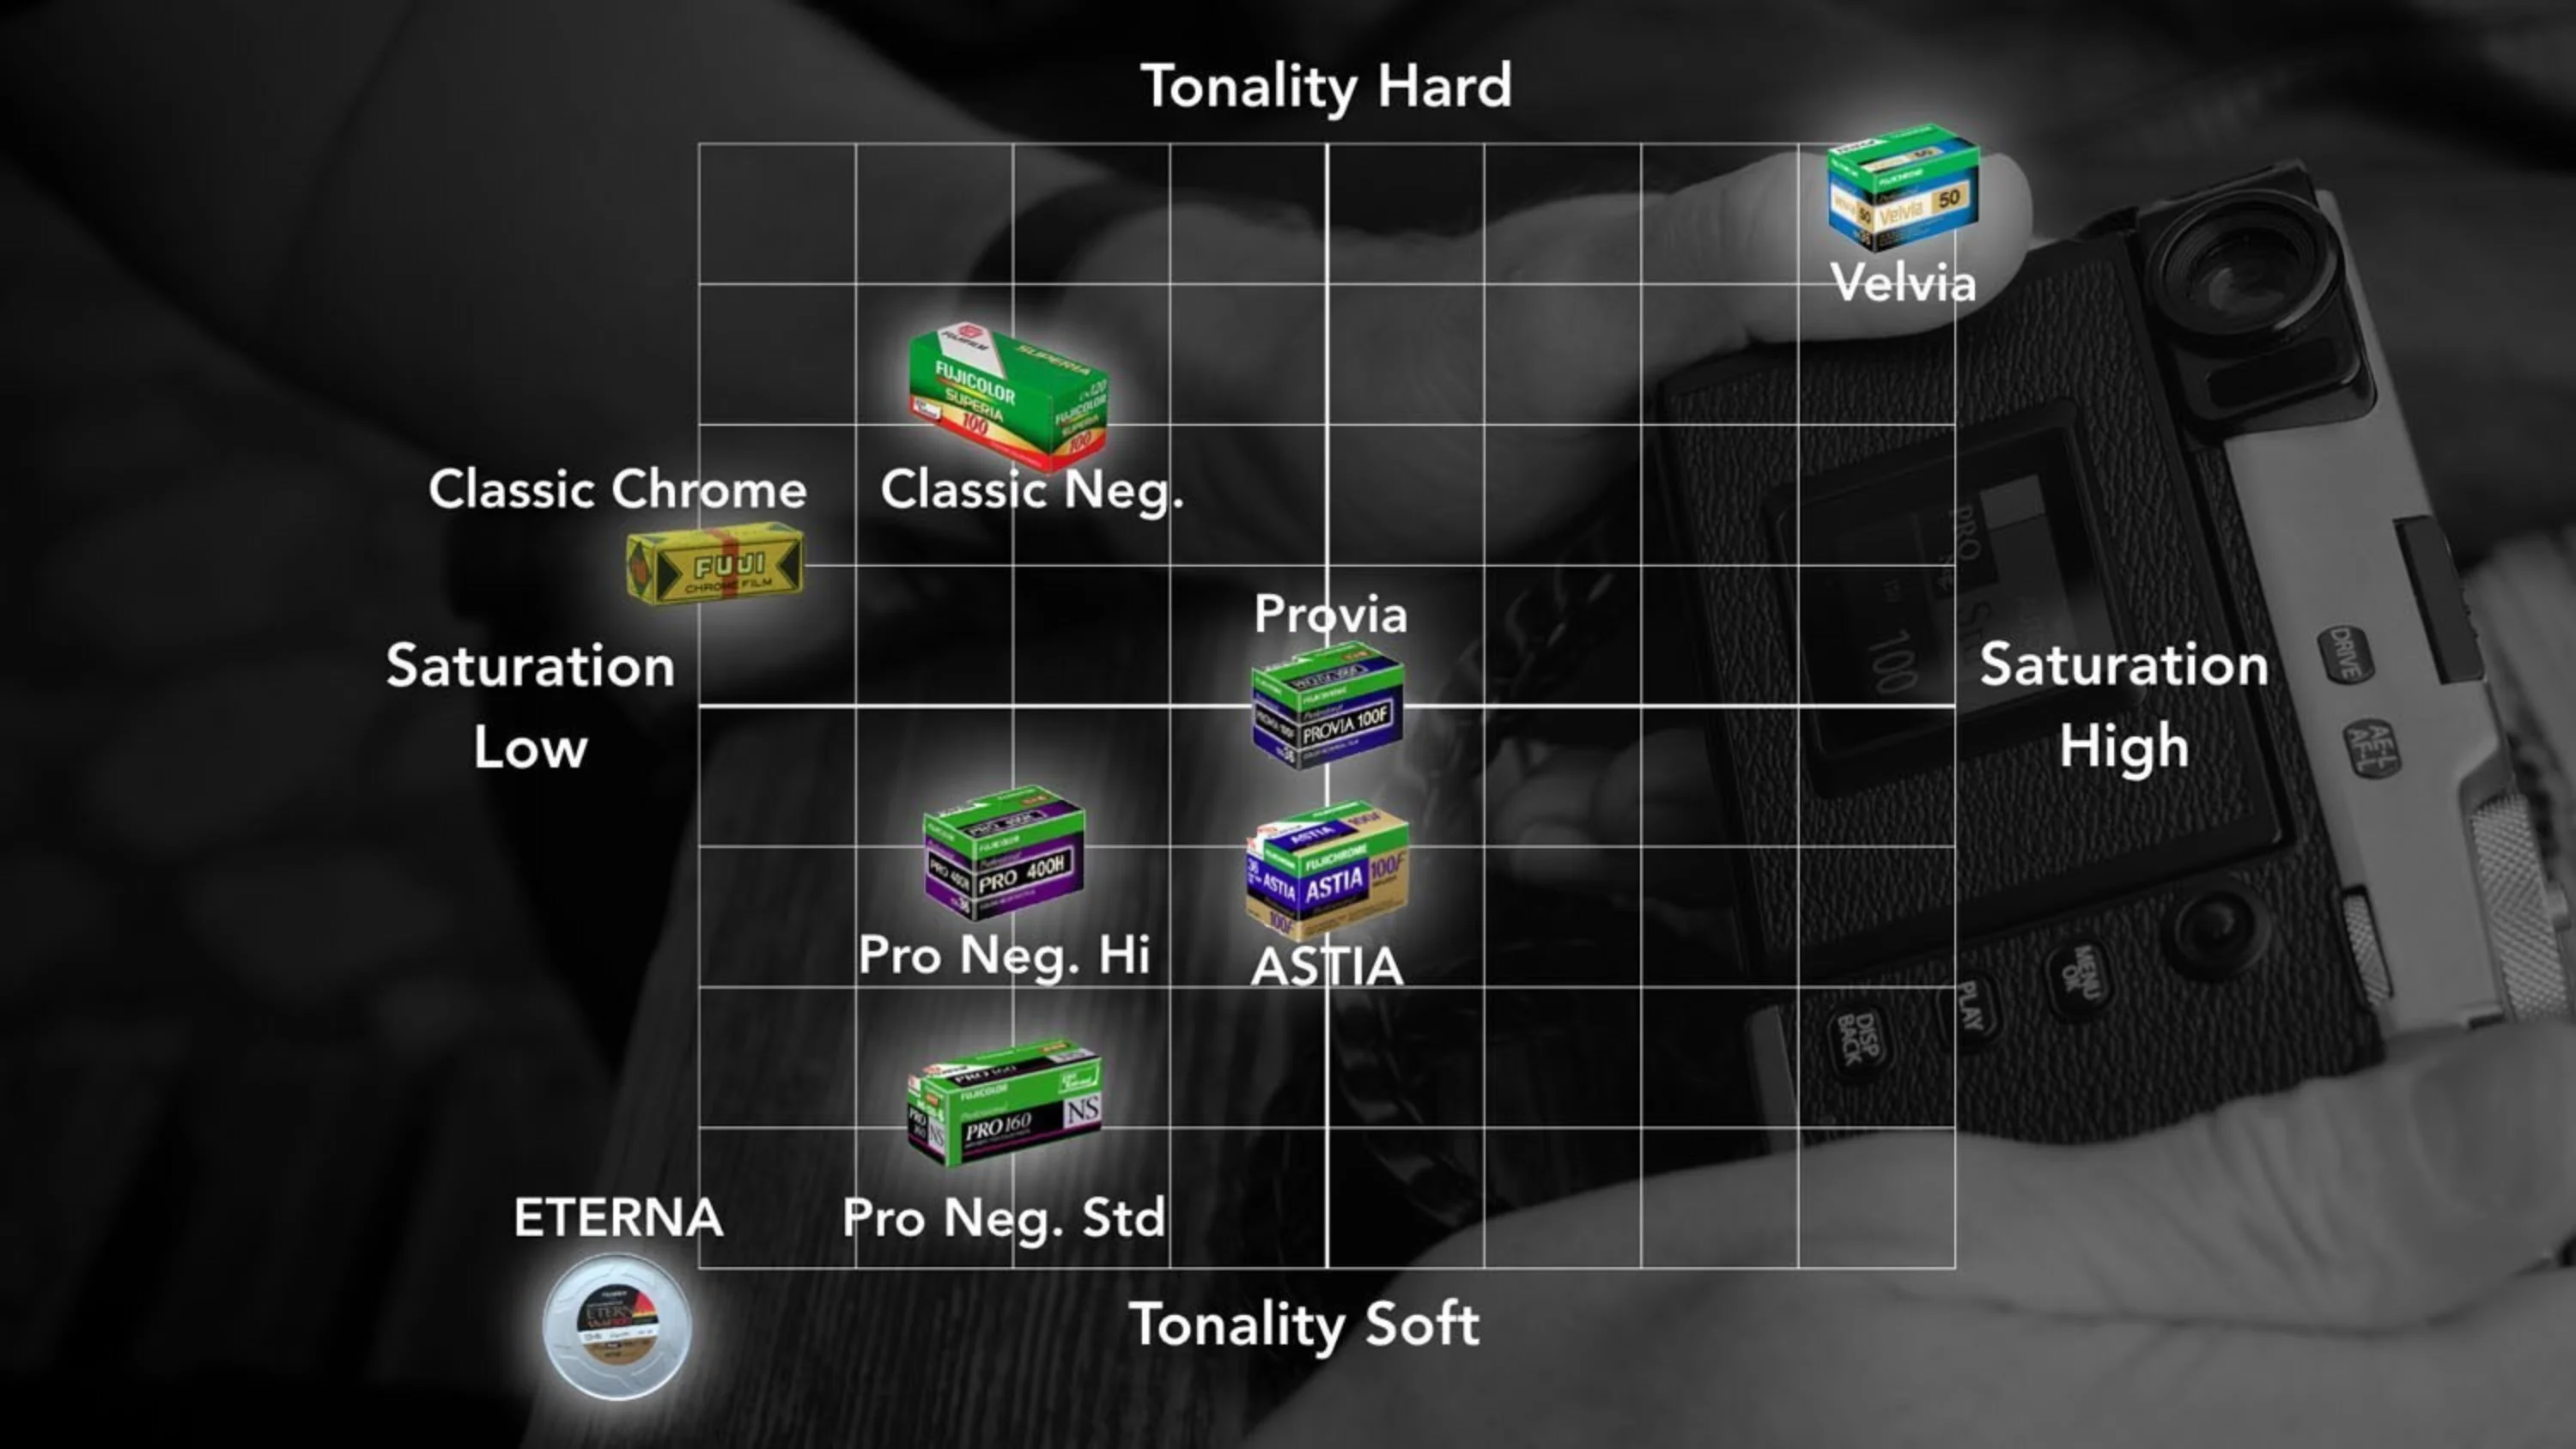
Although the film simulation doesn’t have a dramatic effect on Live View Highlight Alert, some of the more contrasty simulations do trigger the blinkies sooner.
Exposing to the right: step by step #
1. Exposure tools
- Turn on Live View Highlight Alert.
- Turn on PREVIEW EXP./WB IN MANUAL MODE
- Set Dynamic Range setting to DR100
- Set highlights to -2 in the tone curve settings
- Ideally use Eterna Film Simulation
2. Set image quality to raw
Optimum exposure for your sensor isn’t the same thing as a “proper” exposure that looks right to your eye. ETTR images require you to redistribute the tones you recorded in post-production. Doing this with a compressed 8-bit JPG isn’t possible/recommended, so you have to shoot raw.
3. Base ISO
To achieve maximum dynamic range and signal-to-noise ratio, set your sensor to its base ISO. This will likely be either ISO 200 (on older Fuji cameras) or ISO 160. ISO does not increase sensitivity, it amplifies the signal. This amplification therefore makes noise more noticeable. It also makes highlights clip sooner which reduces the dynamic range.
4. Increase exposure to clipping point
Examine the scene and decide what highlights you would like to preserve. Remember to ignore specular highlights. Increase exposure until Live View Highlight Alert kicks in. Then reduce exposure until they disappear. Remember to stay at base ISO and change your shutter speed or aperture only when adjusting the exposure.
If exposing manually, you need to enable exposure preview in SET UP > SCREEN SET-UP > PREVIEW EXP./WB IN MANUAL MODE > PREVIEW EXP./WB
5. Edit the resulting image
ETTR produces an exposure which is optimal for the sensor but will likely not look “right” to your eye. So, you’ll need to make some adjustments to your image.
Editing ETTR images #
Many raw editors apply a default tone curve to images when importing them. This transforms the raw linear data to a more natural looking non-linear distribution. Tone curves manipulate highlights and shadows, which can make the raw appear overexposed. Changing the default tone curve to linear, gives a much better idea of the tonal range captured.
As you can see from the image below, the default tone curve often causes ETTR images to appear over exposed. Viewing the same image with a ‘Linear response’ tone curve shows there is still information in the highlights. You can then choose how to reshape the tonal range. Whether globally reducing the exposure or targeting the shadows and highlights.
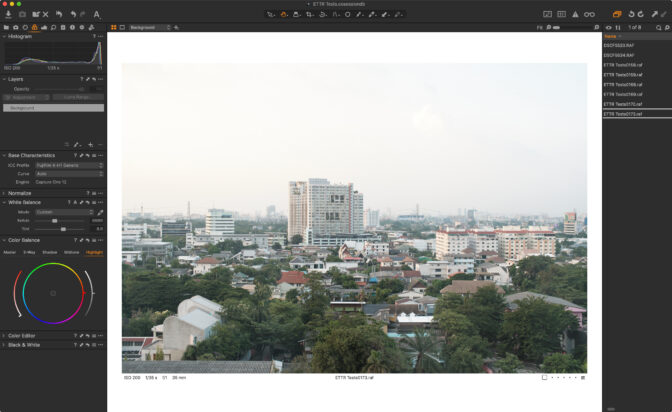
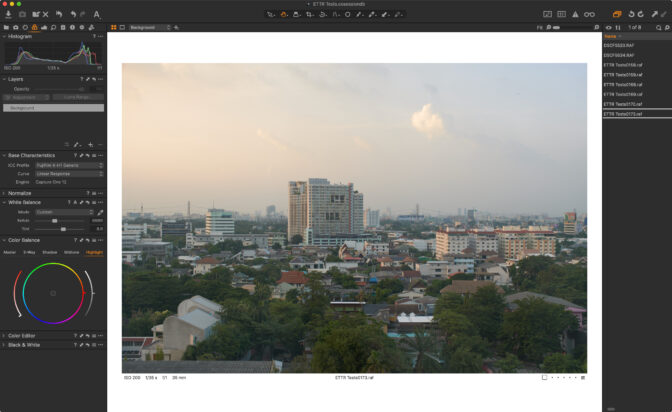
X-H1 RAF file opened in Capture One Pro 12. Before image shows the default ‘Auto’ curve applied. Highlight detail is seemingly overexposed. The after image shows Capture One’s ‘Linear Response’ curve applied.
Linear capture has important implications for exposure. If a camera captures six stops of dynamic range, half of the 4,096 levels (12 bit) are devoted to the brightest stop, half of the remainder (1,024 levels) are devoted to the next stop, half of the remainder (512 levels) are devoted to the next stop, and so on. The darkest stop, the extreme shadows, is represented by only 64 levels…
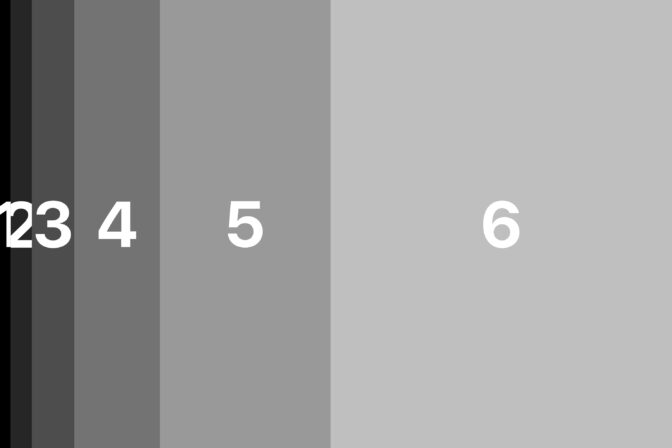
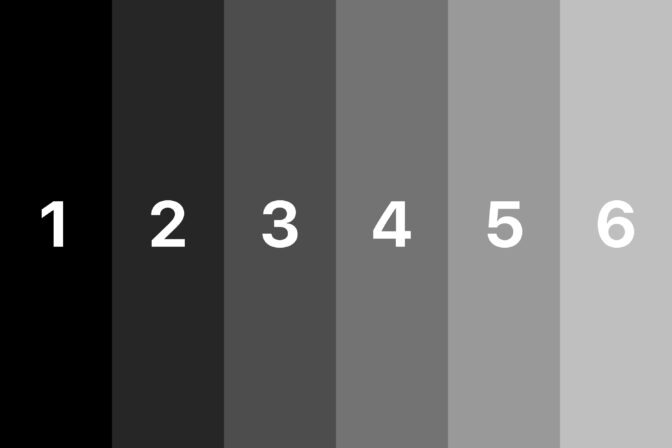
Visualisation of linear and non-linear distribution 6 stops of dynamic range.
Advantages of this method of ETTR #
You can quickly toggle between custom settings, meaning you can easily switch between exposing for raw and JPG.
Alternative methods of ETTR #
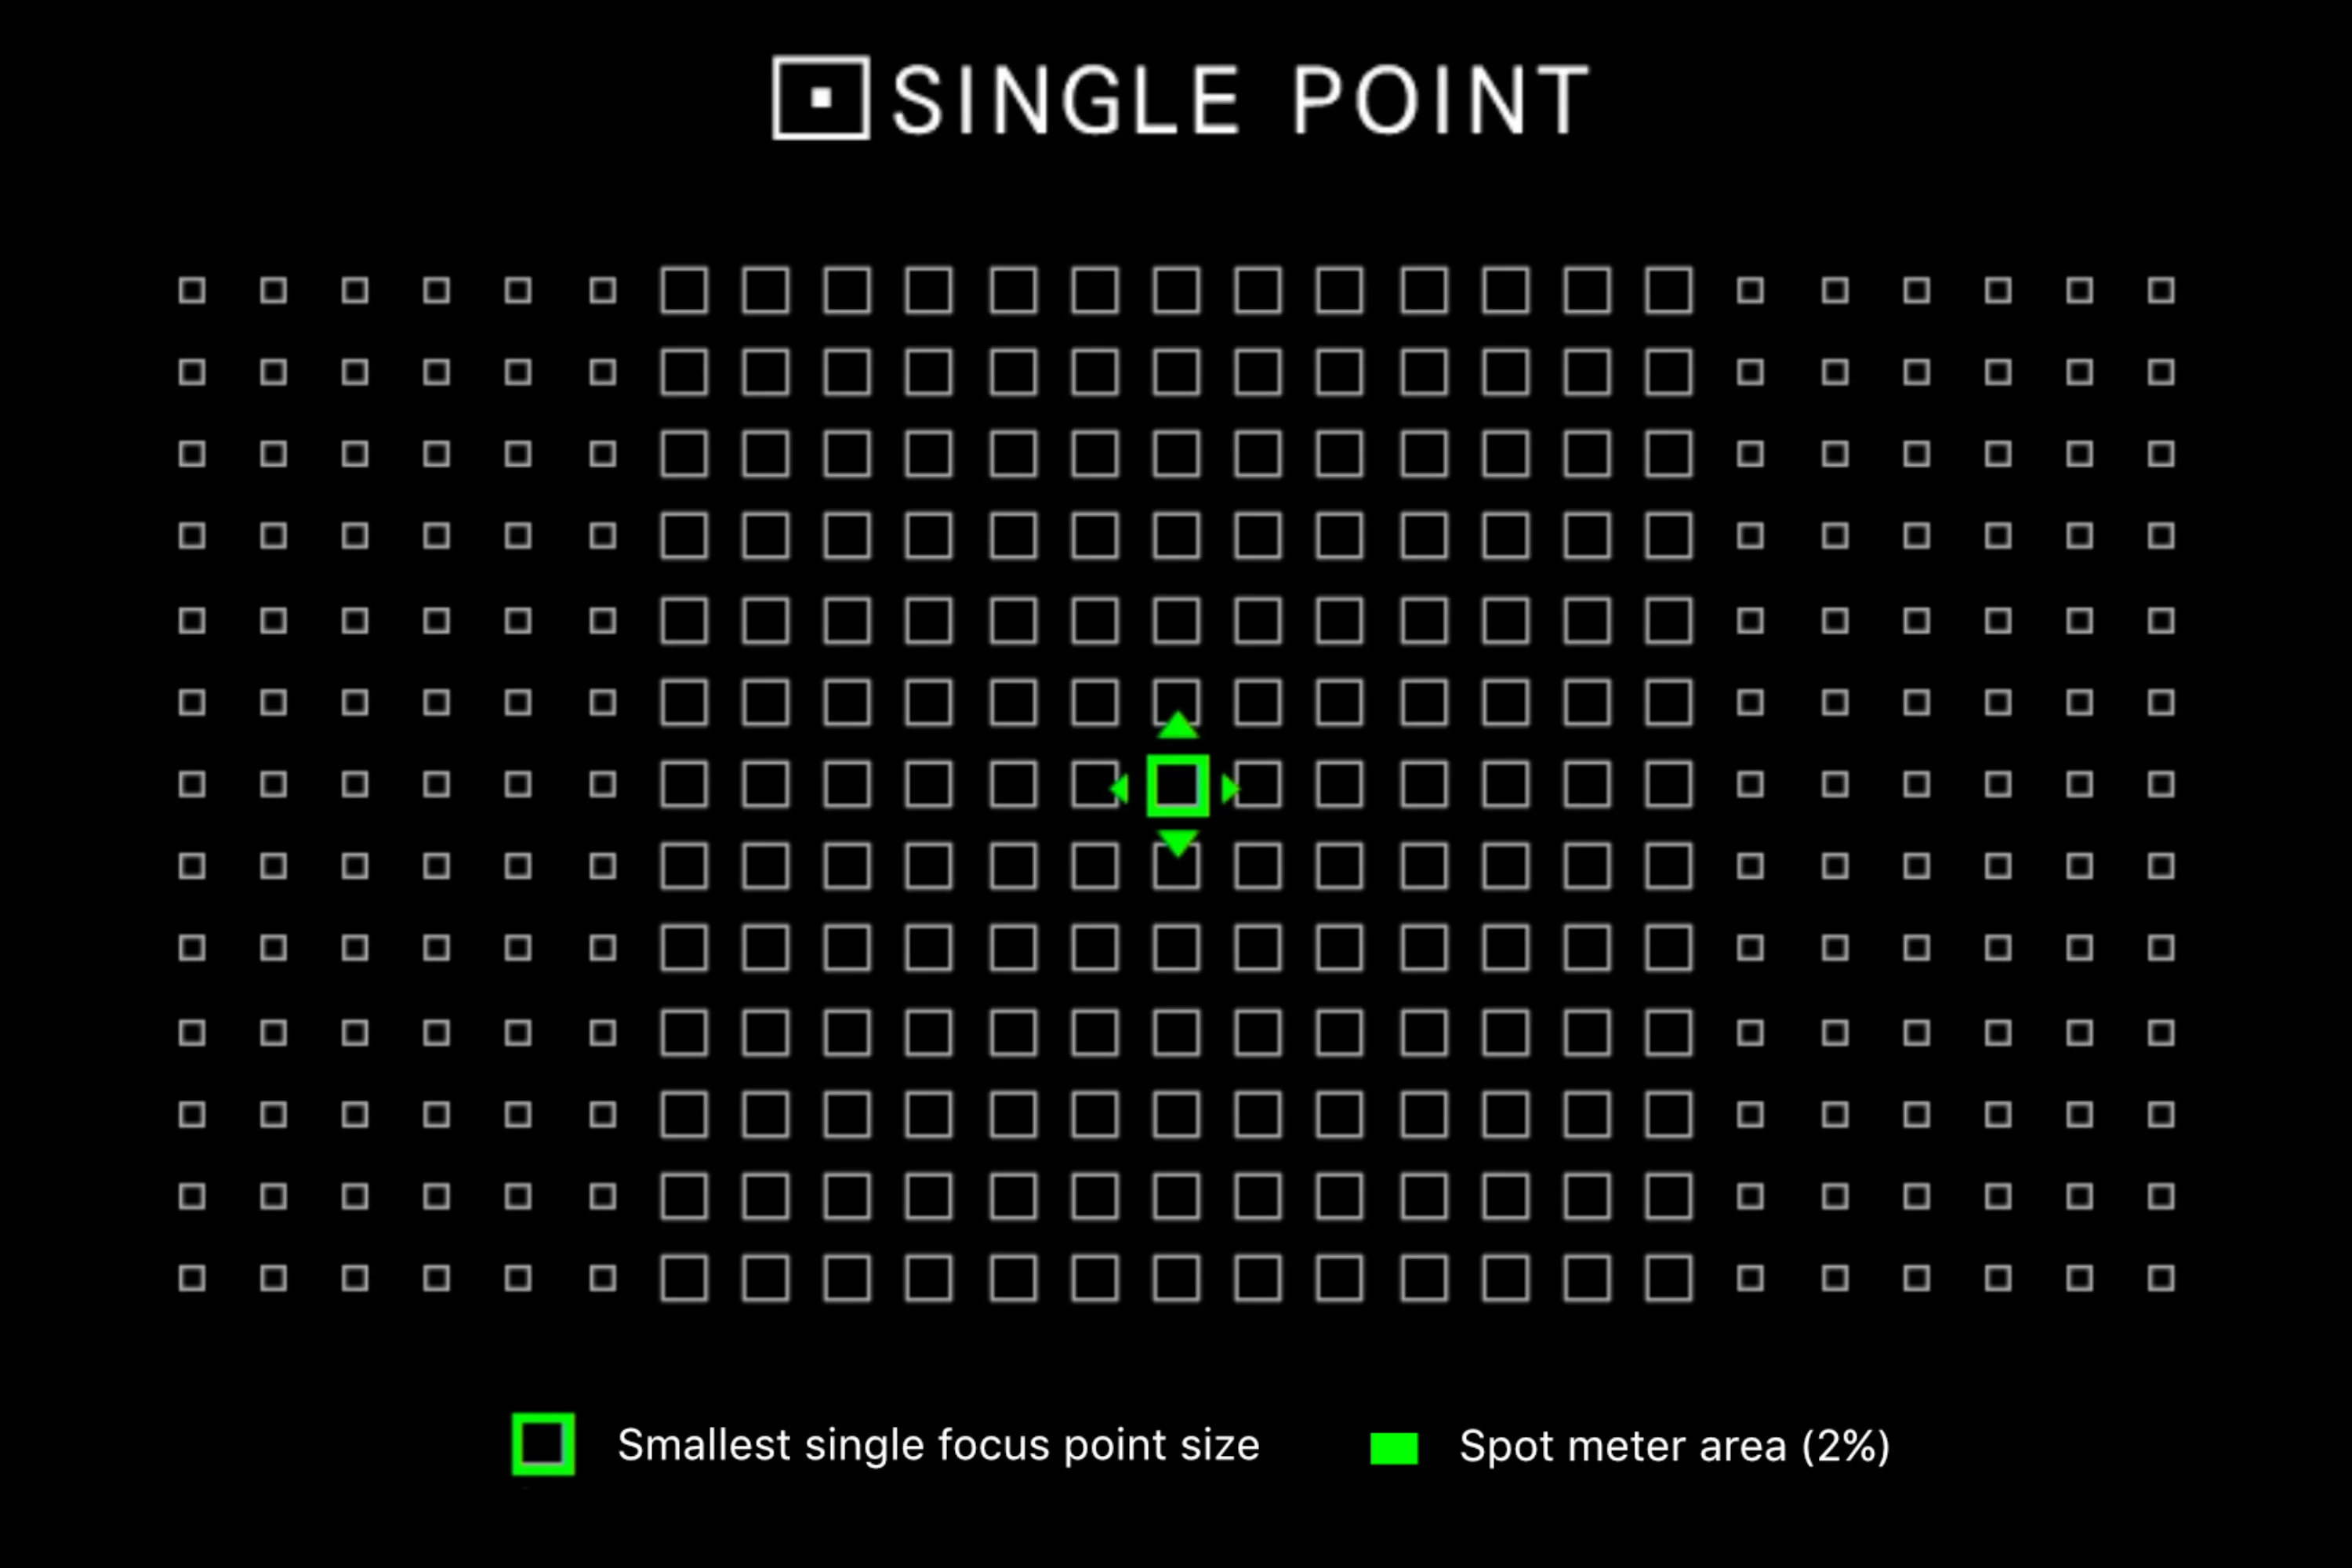
The spot meter method of ETTR
This method of ETTR entails spot-metering the brightest part of the image. You would then adjust exposure to achieve roughly three stops above middle grey. There are a few hurdles with this method though. It entails measuring your sensors highlight headroom, as outlined in this article. The spot meter isn’t always accurate enough. It also takes time to meter the scene this way.
 View this image larger
The UniWB method
Universal White balance (UniWB) is a method of approximating raw exposure. It takes some effort to setup and produces green JPEG images, which can be off-putting.
UniWB is a “trick”. A camera set up to use UniWB is instructed to produce a distorted JPEG image. That JPEG will typically look horribly green when viewed on a display. However, the distorted image is specifically designed to produce a histogram whose right hand extremity closely matches that of a real RAW histogram.
More Fujifilm articles

X100V field test
I borrowed an X100V for the weekend to test the new lens and to see how it compares to my everyday …
Focus stacking with Fuji cameras
A concise overview of how to use Fujifilm's in-camera focus bracketing feature with example images.…

Fuji's Natural Live View
Fuji's Natural Live View explained. What is it? And why would you use it?
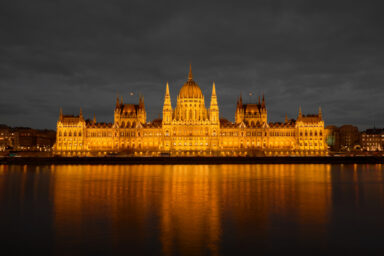
Architectural photography with the Fujifilm X-T20
We headed out for some architectural photography with the trusty Fujifilm X-T20; photographing the …
Fuji webcam software for mac and windows
Official Fuji webcam software has been released. See compatible cameras and operating systems, and …
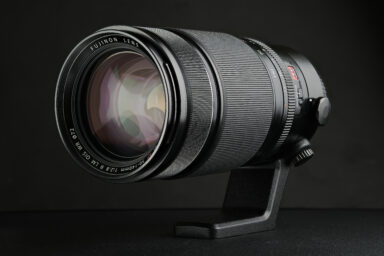
Fuji 50-140mm f2.8 review
The Fuji 50-140mm f/2.8 is a workhorse. It's a rugged and reliable lens that delivers consistent an…